Pantry Makeover Ideas Before and After Transformations

There is nothing quite as satisfying as witnessing a chaotic, cluttered space turn into a flawlessly functional culinary haven. This guide explores the most inspiring pantry makeover ideas, showcasing the power of incredible before and after transformations. Discover how to tackle your own pantry renovation by implementing smart pantry storage solutions, fresh paint, and cohesive shelving. From mastering the decanting process to executing brilliant pantry organization ideas, learn exactly how to achieve a breathtaking pantry transformation that leaves you with a permanently organized pantry.
Transitional / Restorative
Moderate Cost Range
Intermediate DIY Level
Pantry Makeover Transformations

From Chaos to Calm

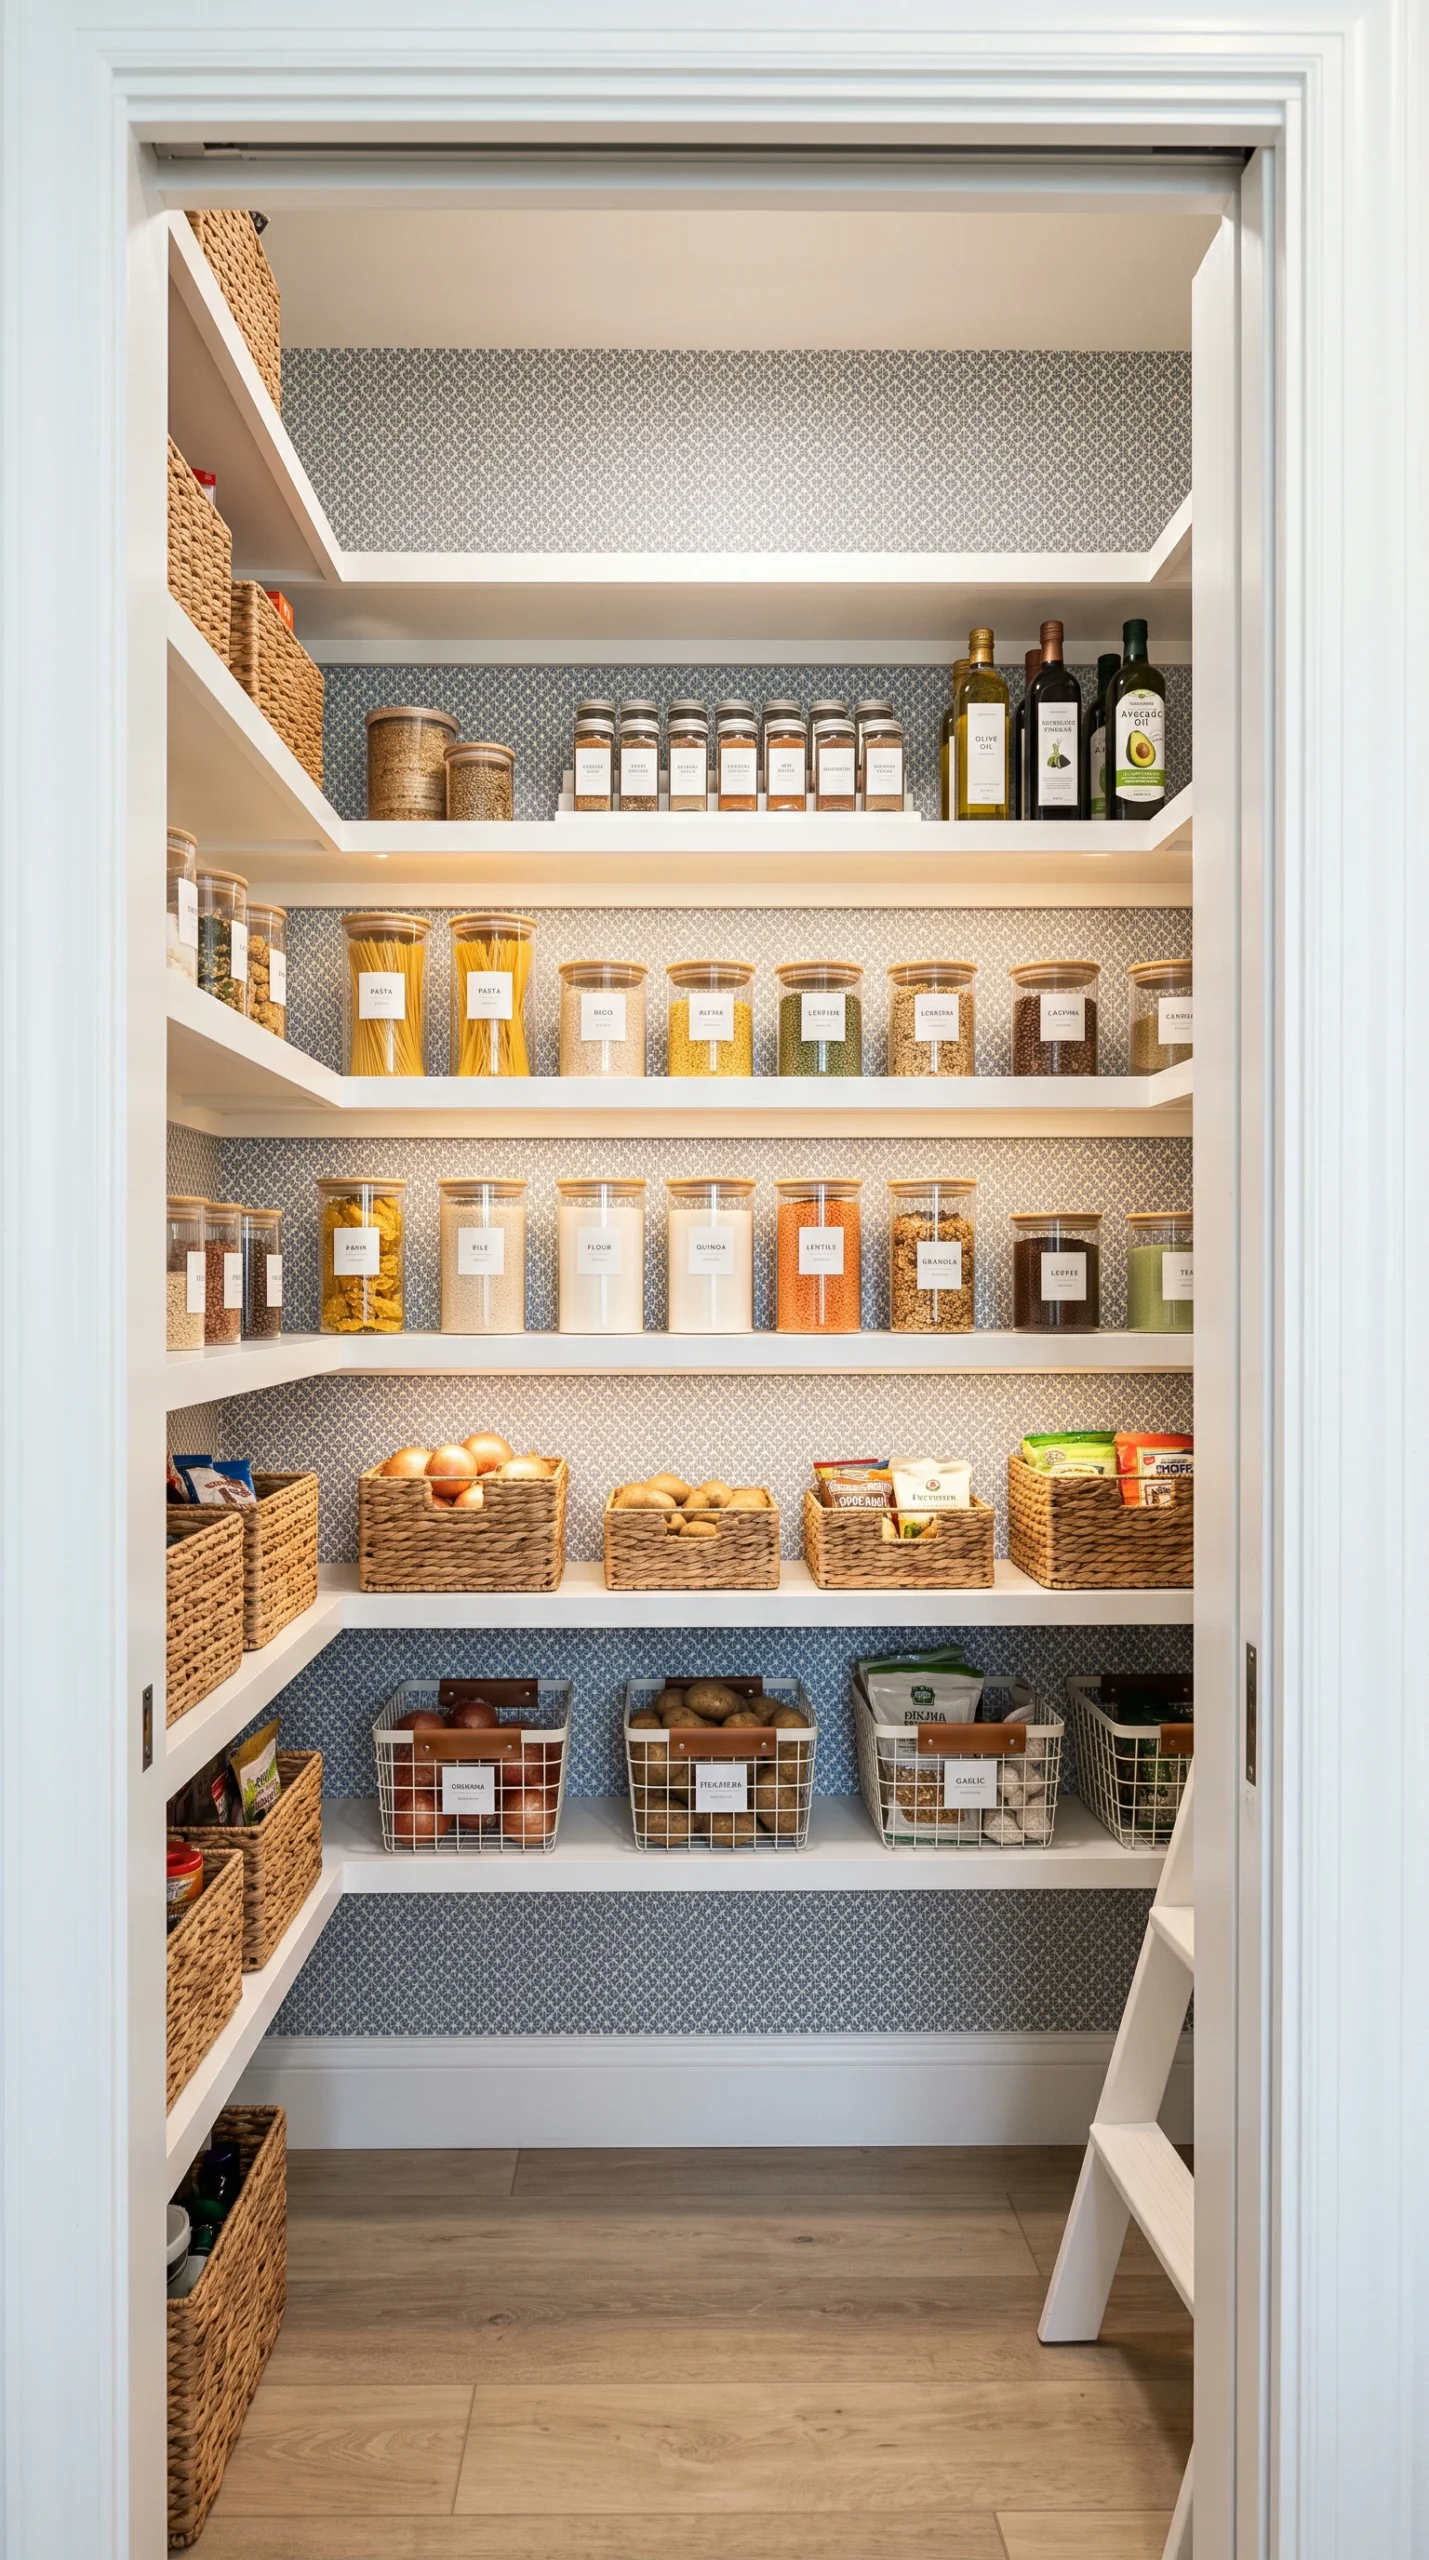
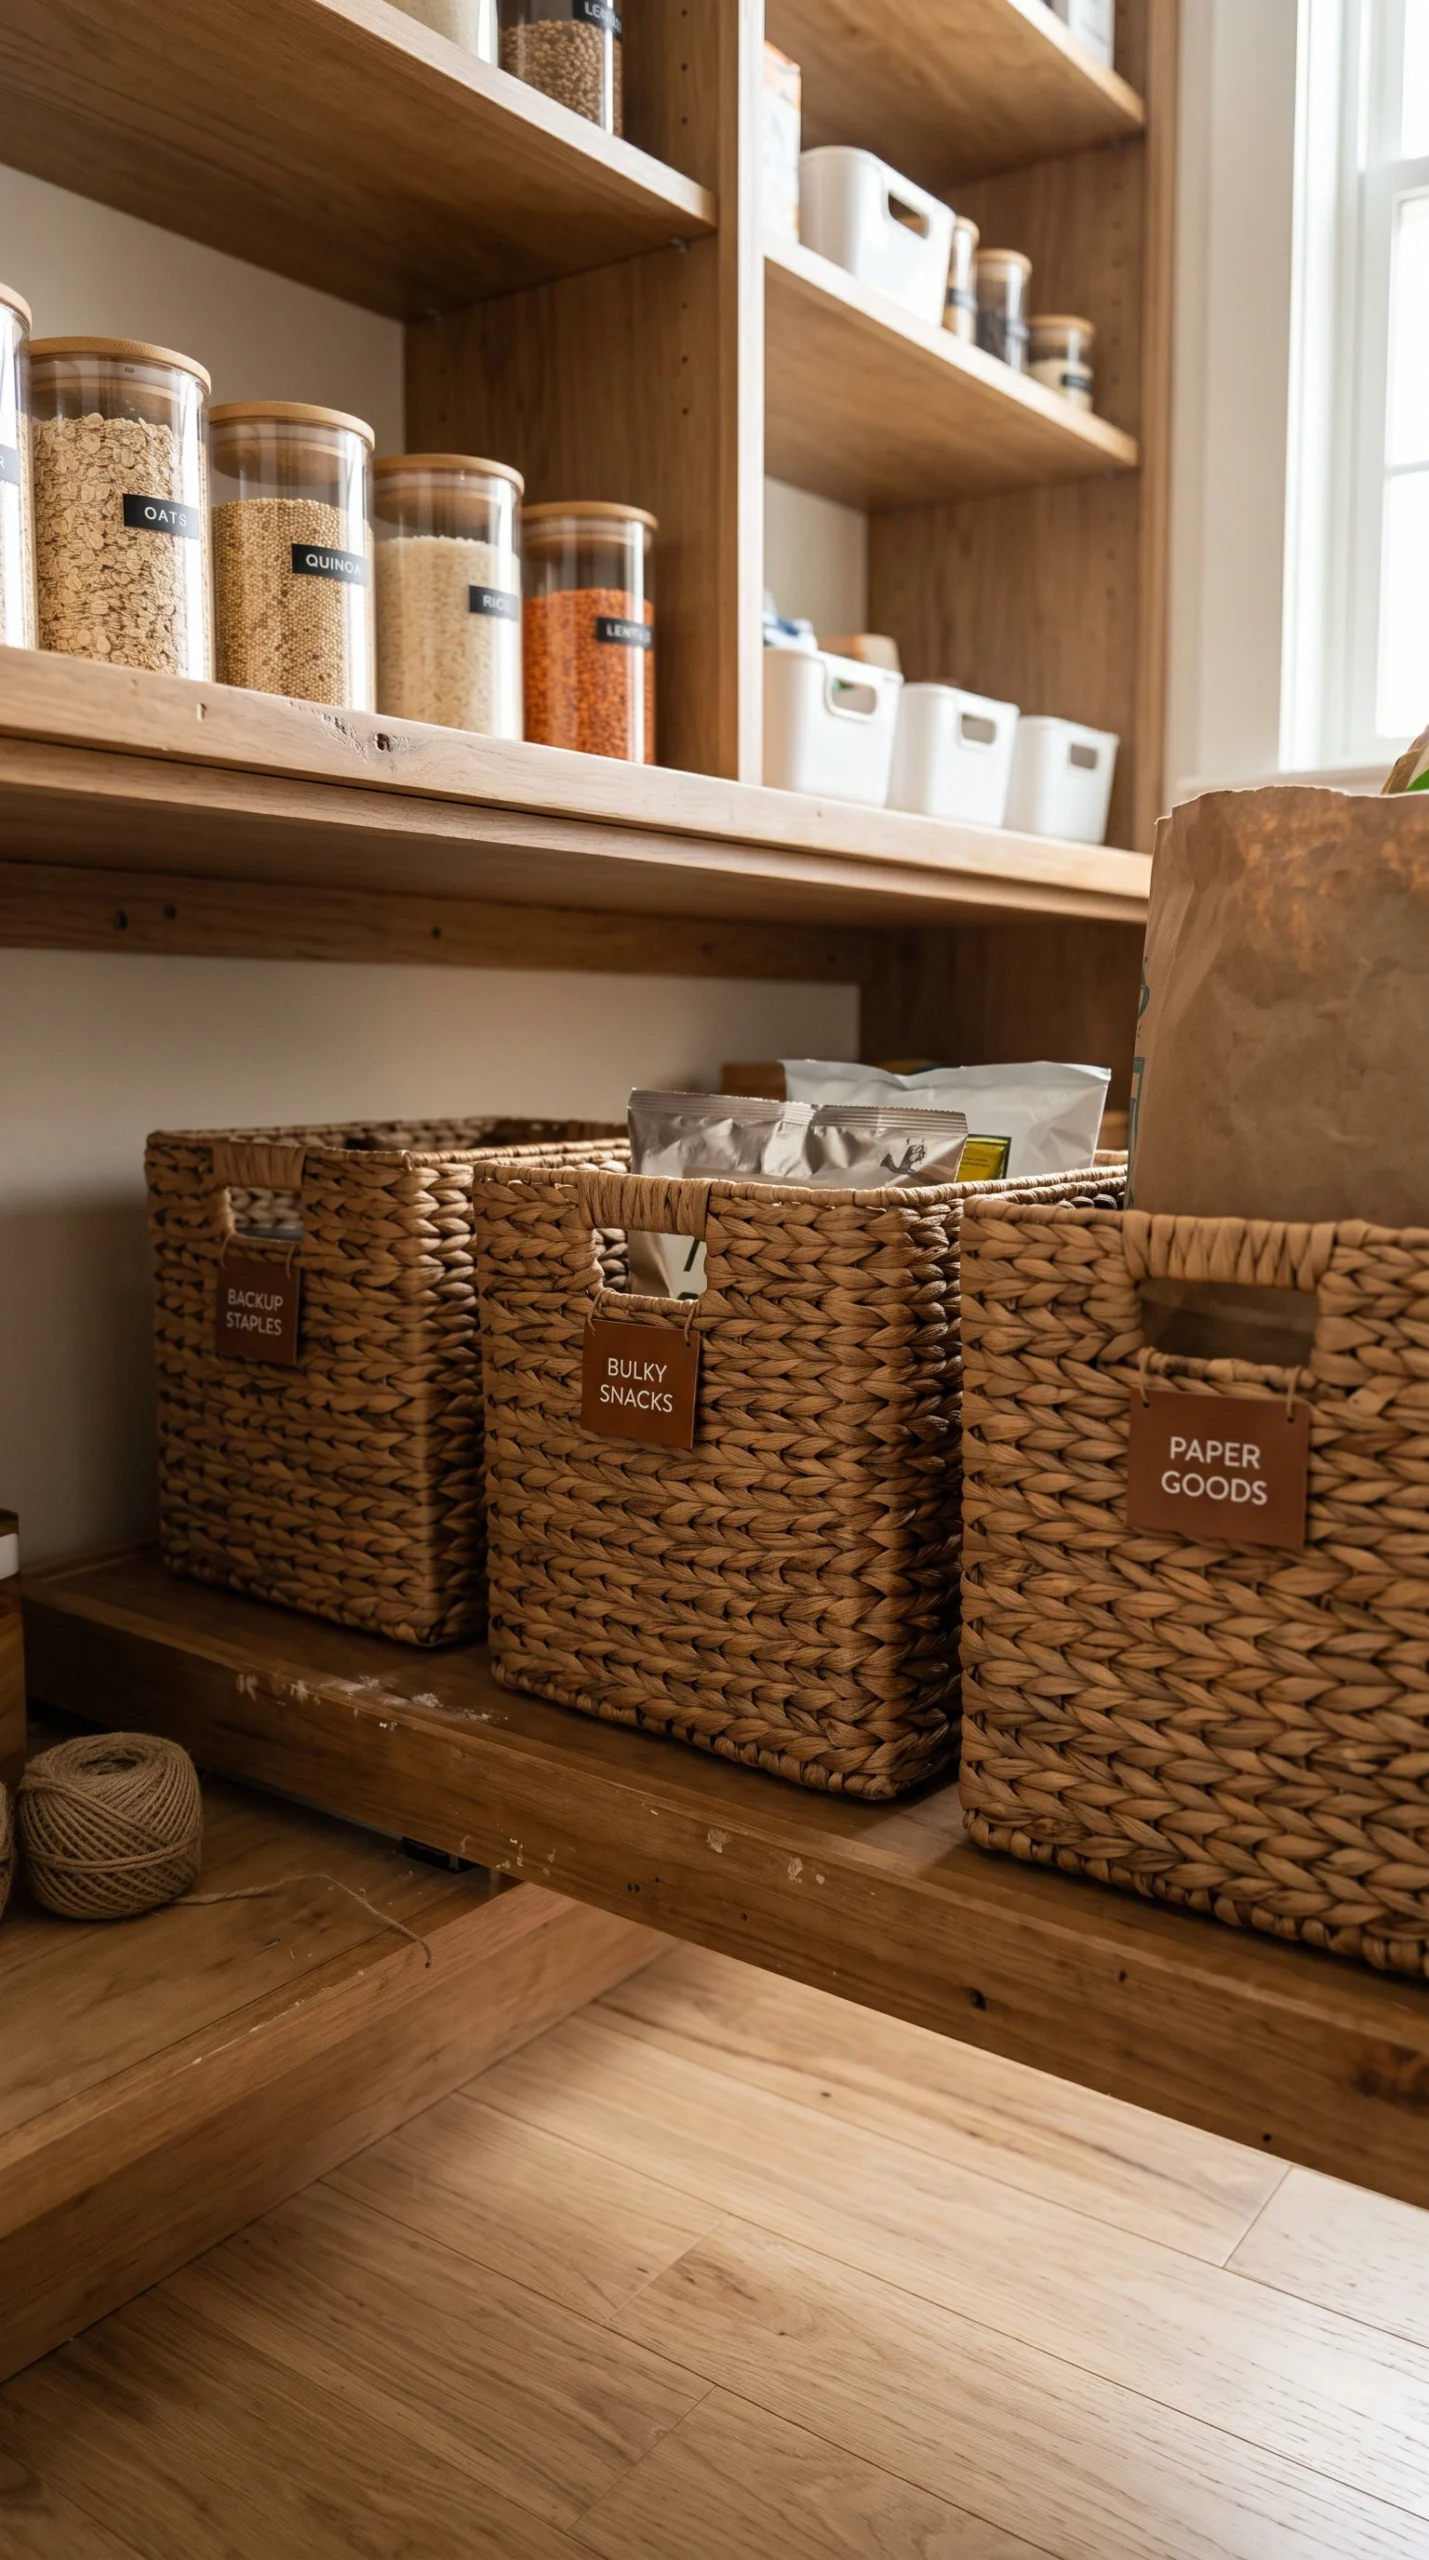
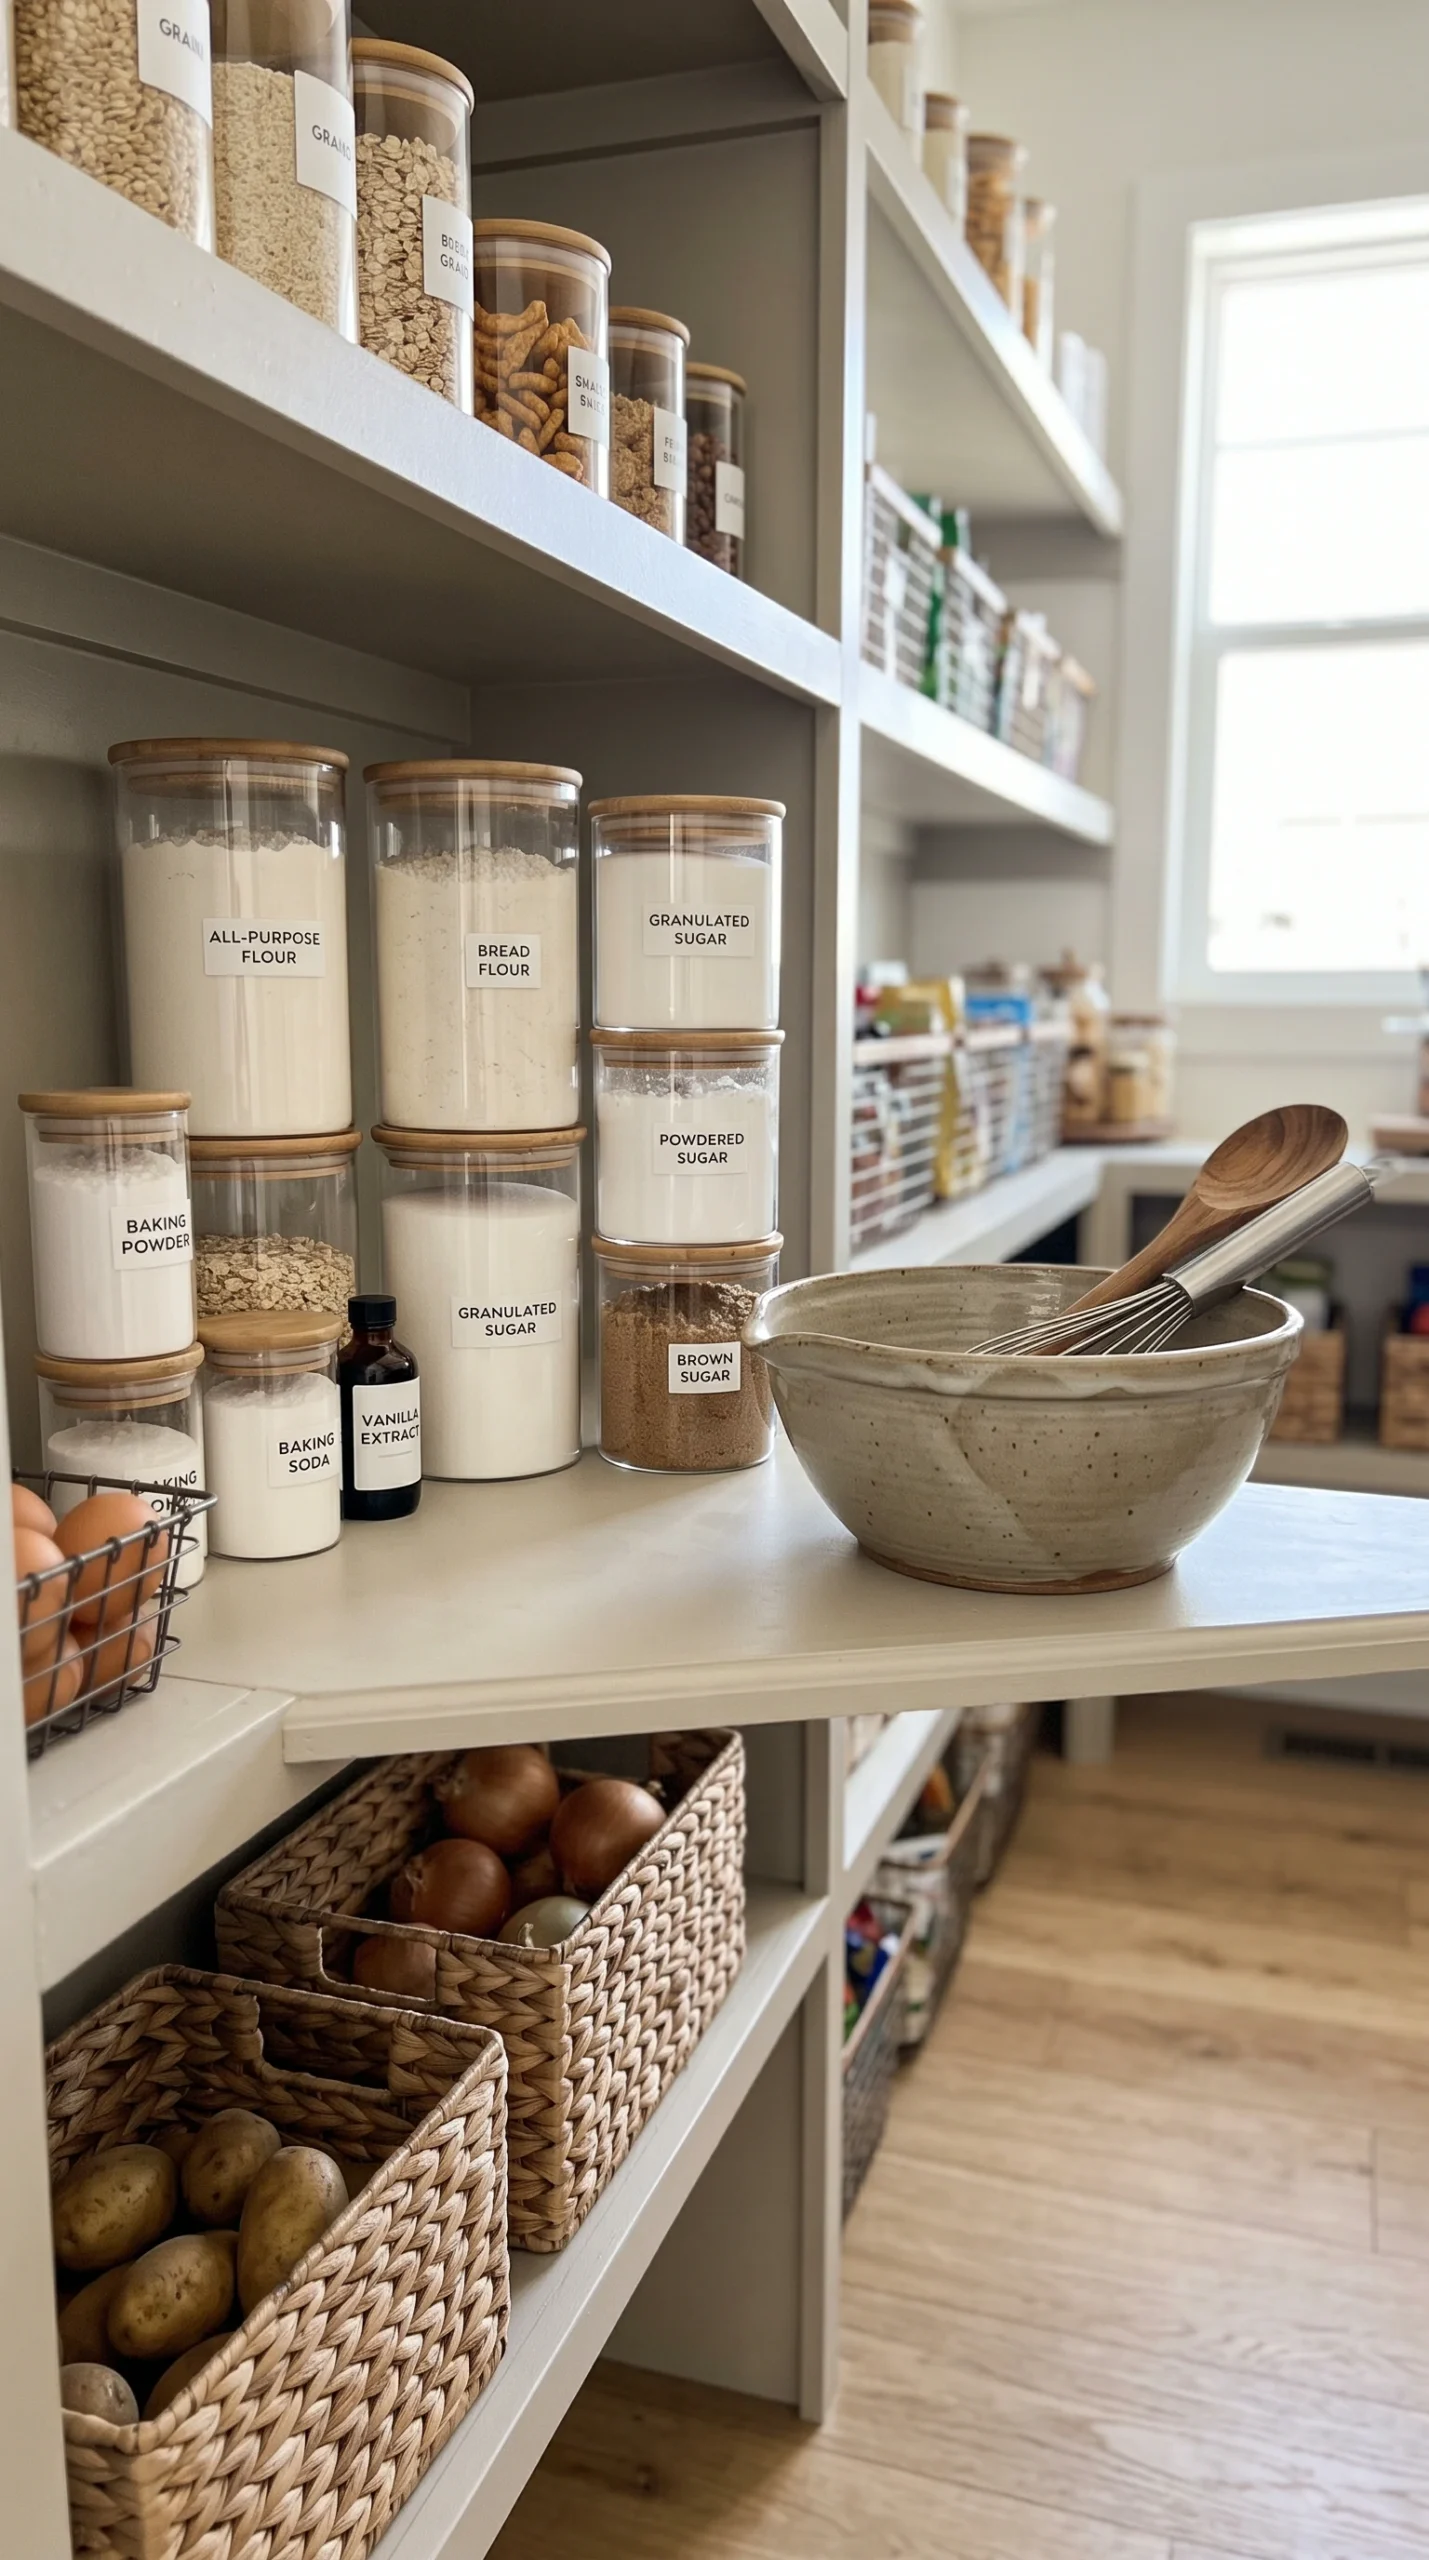
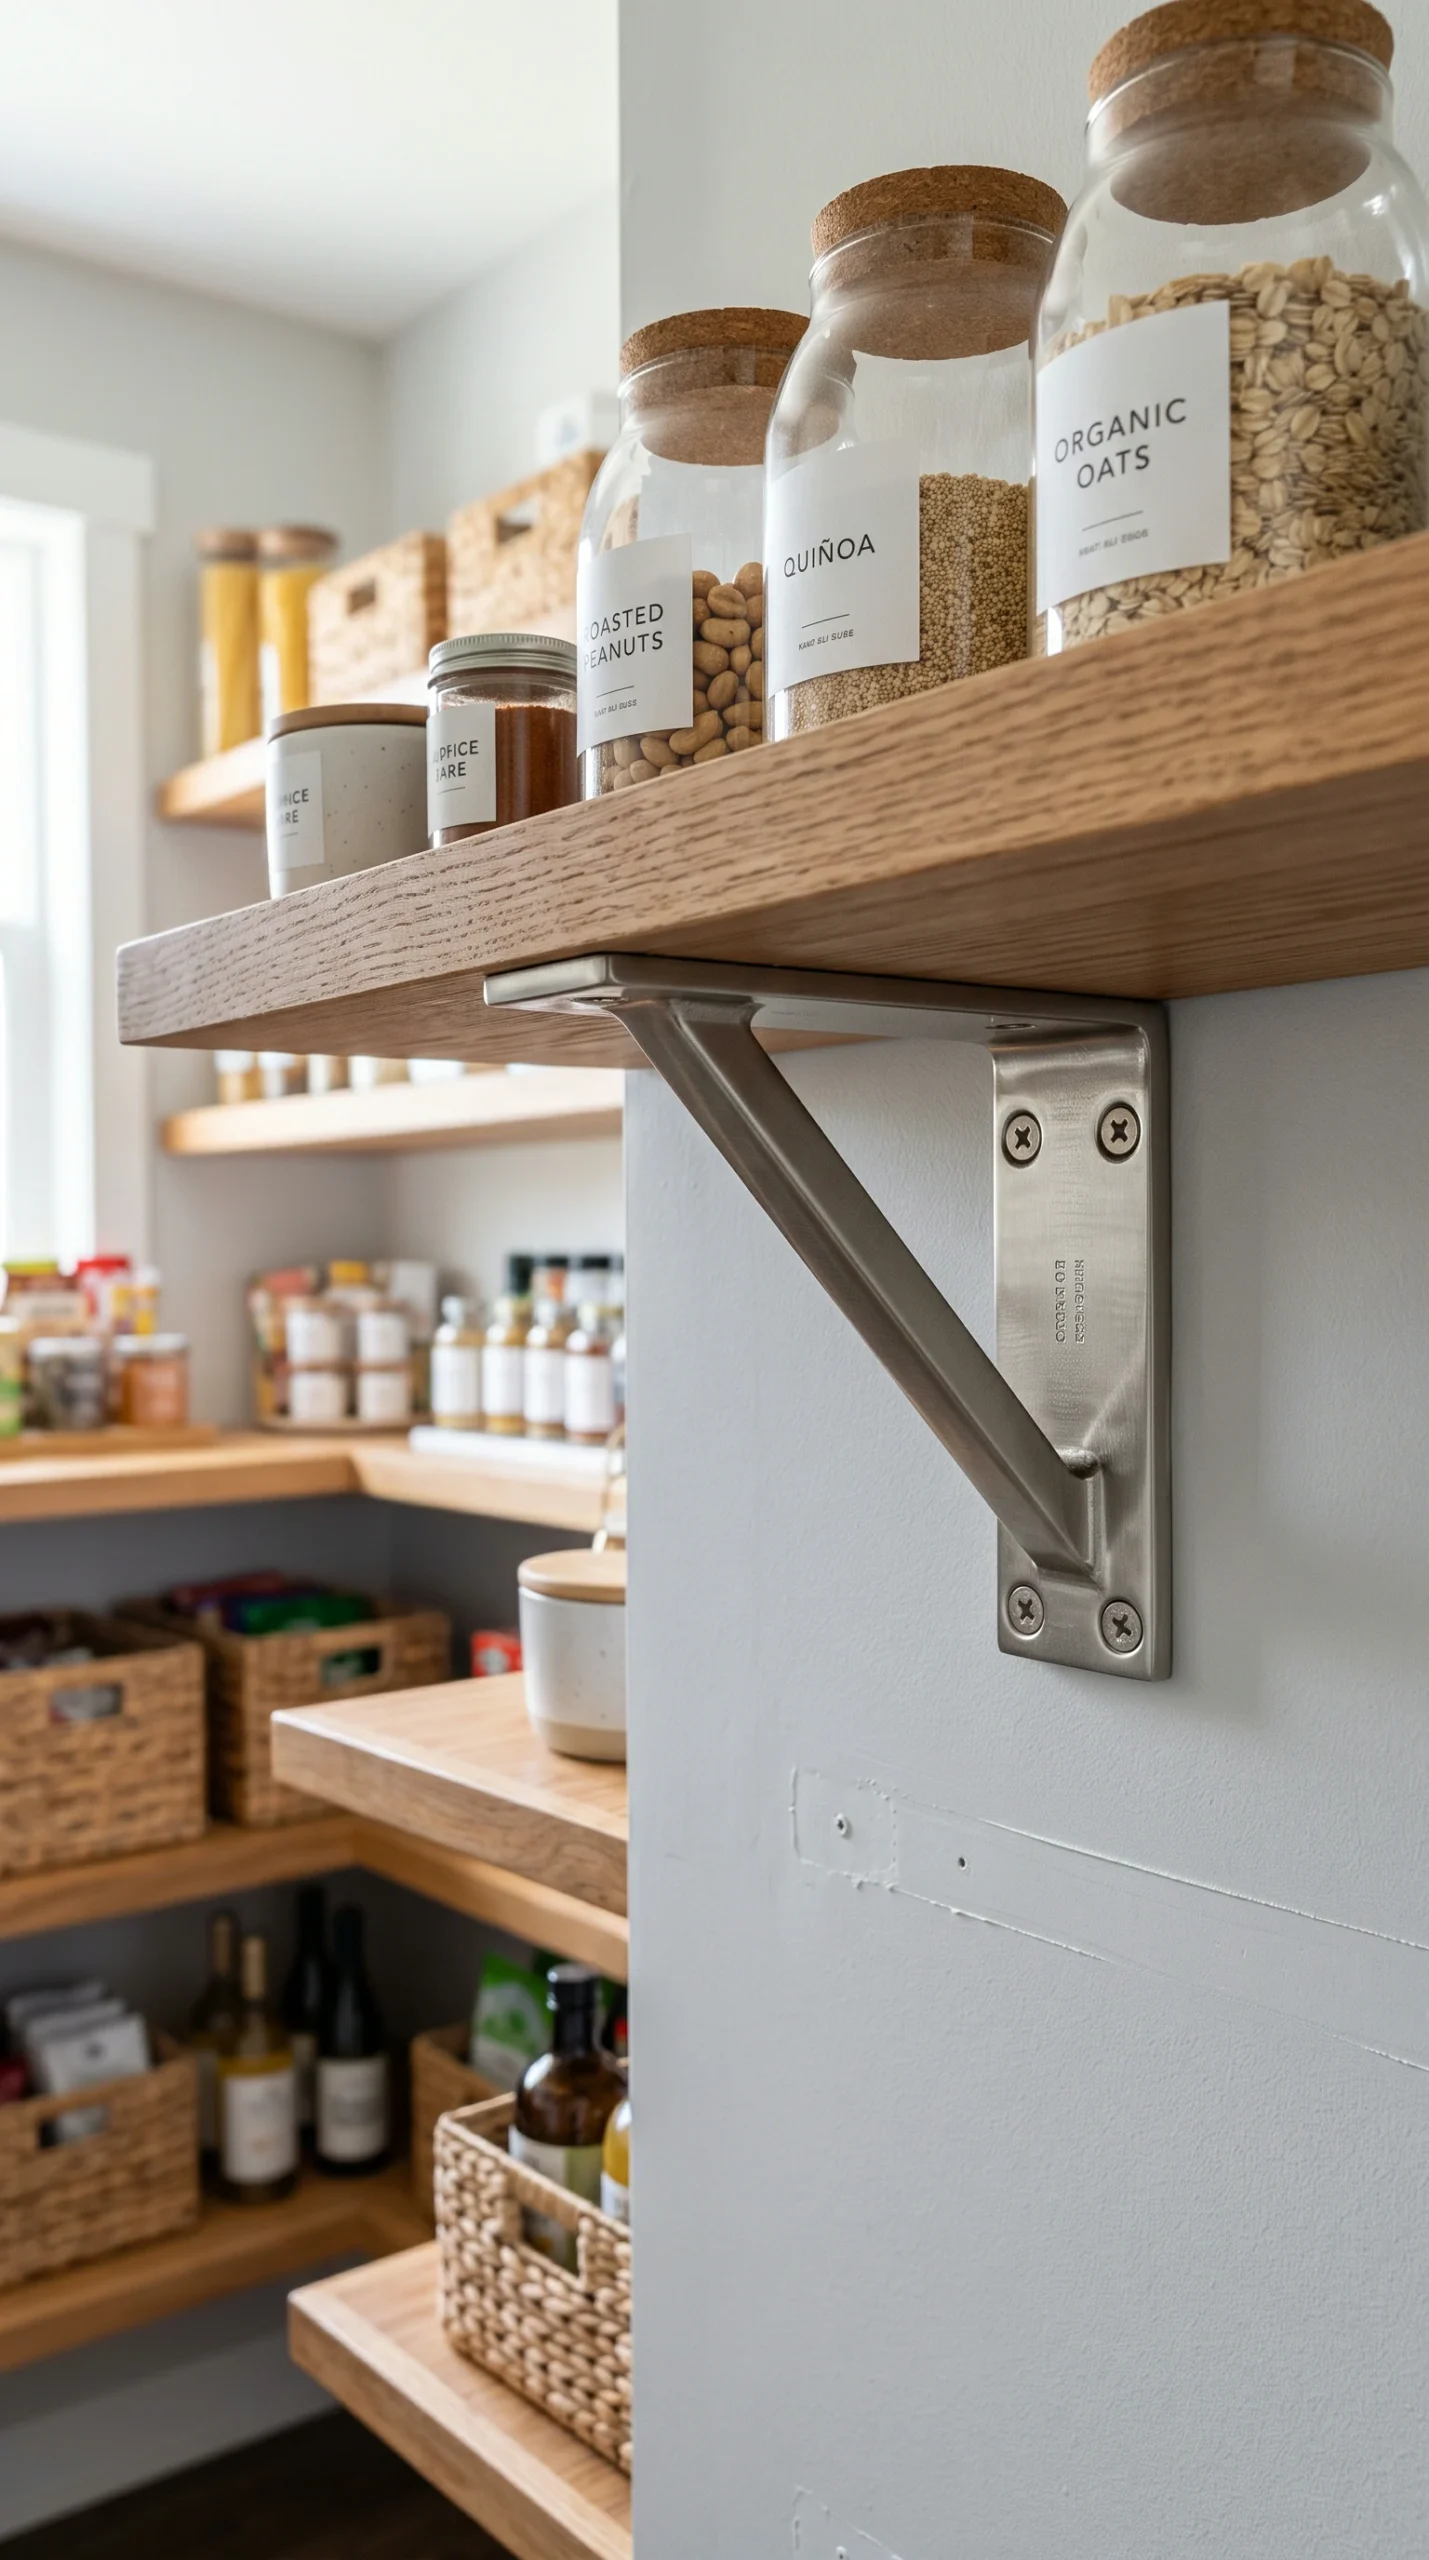
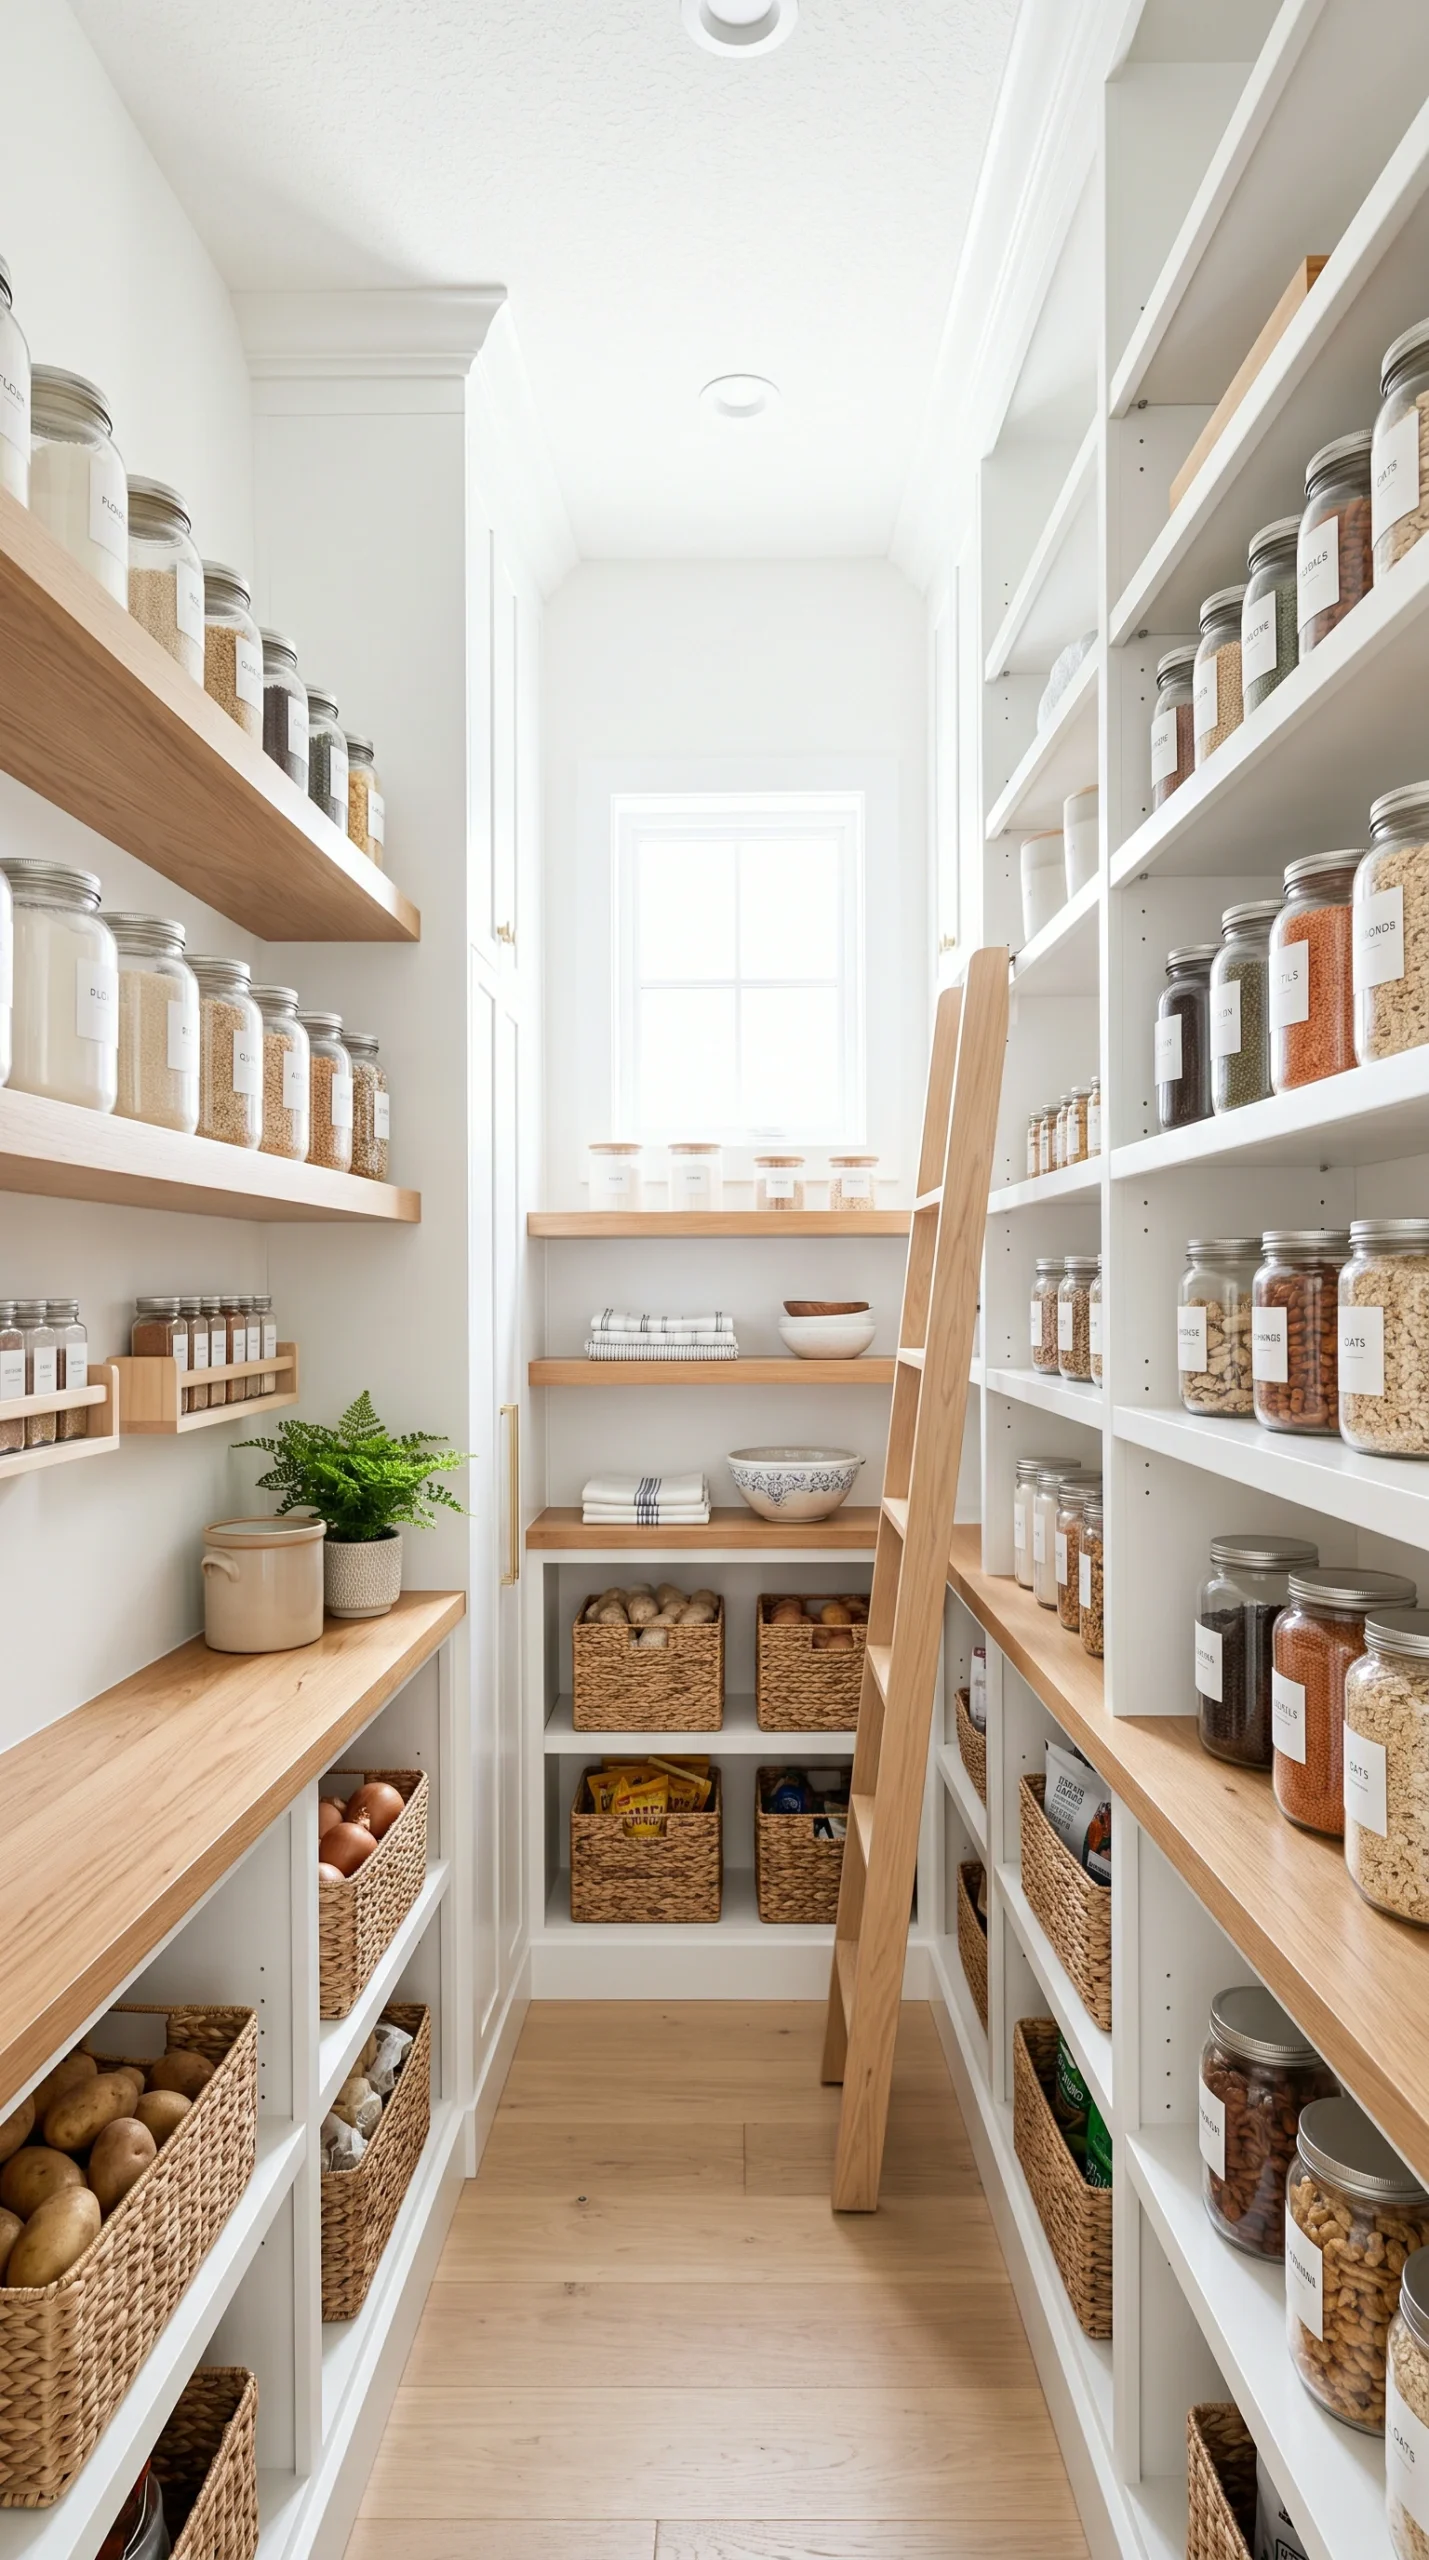
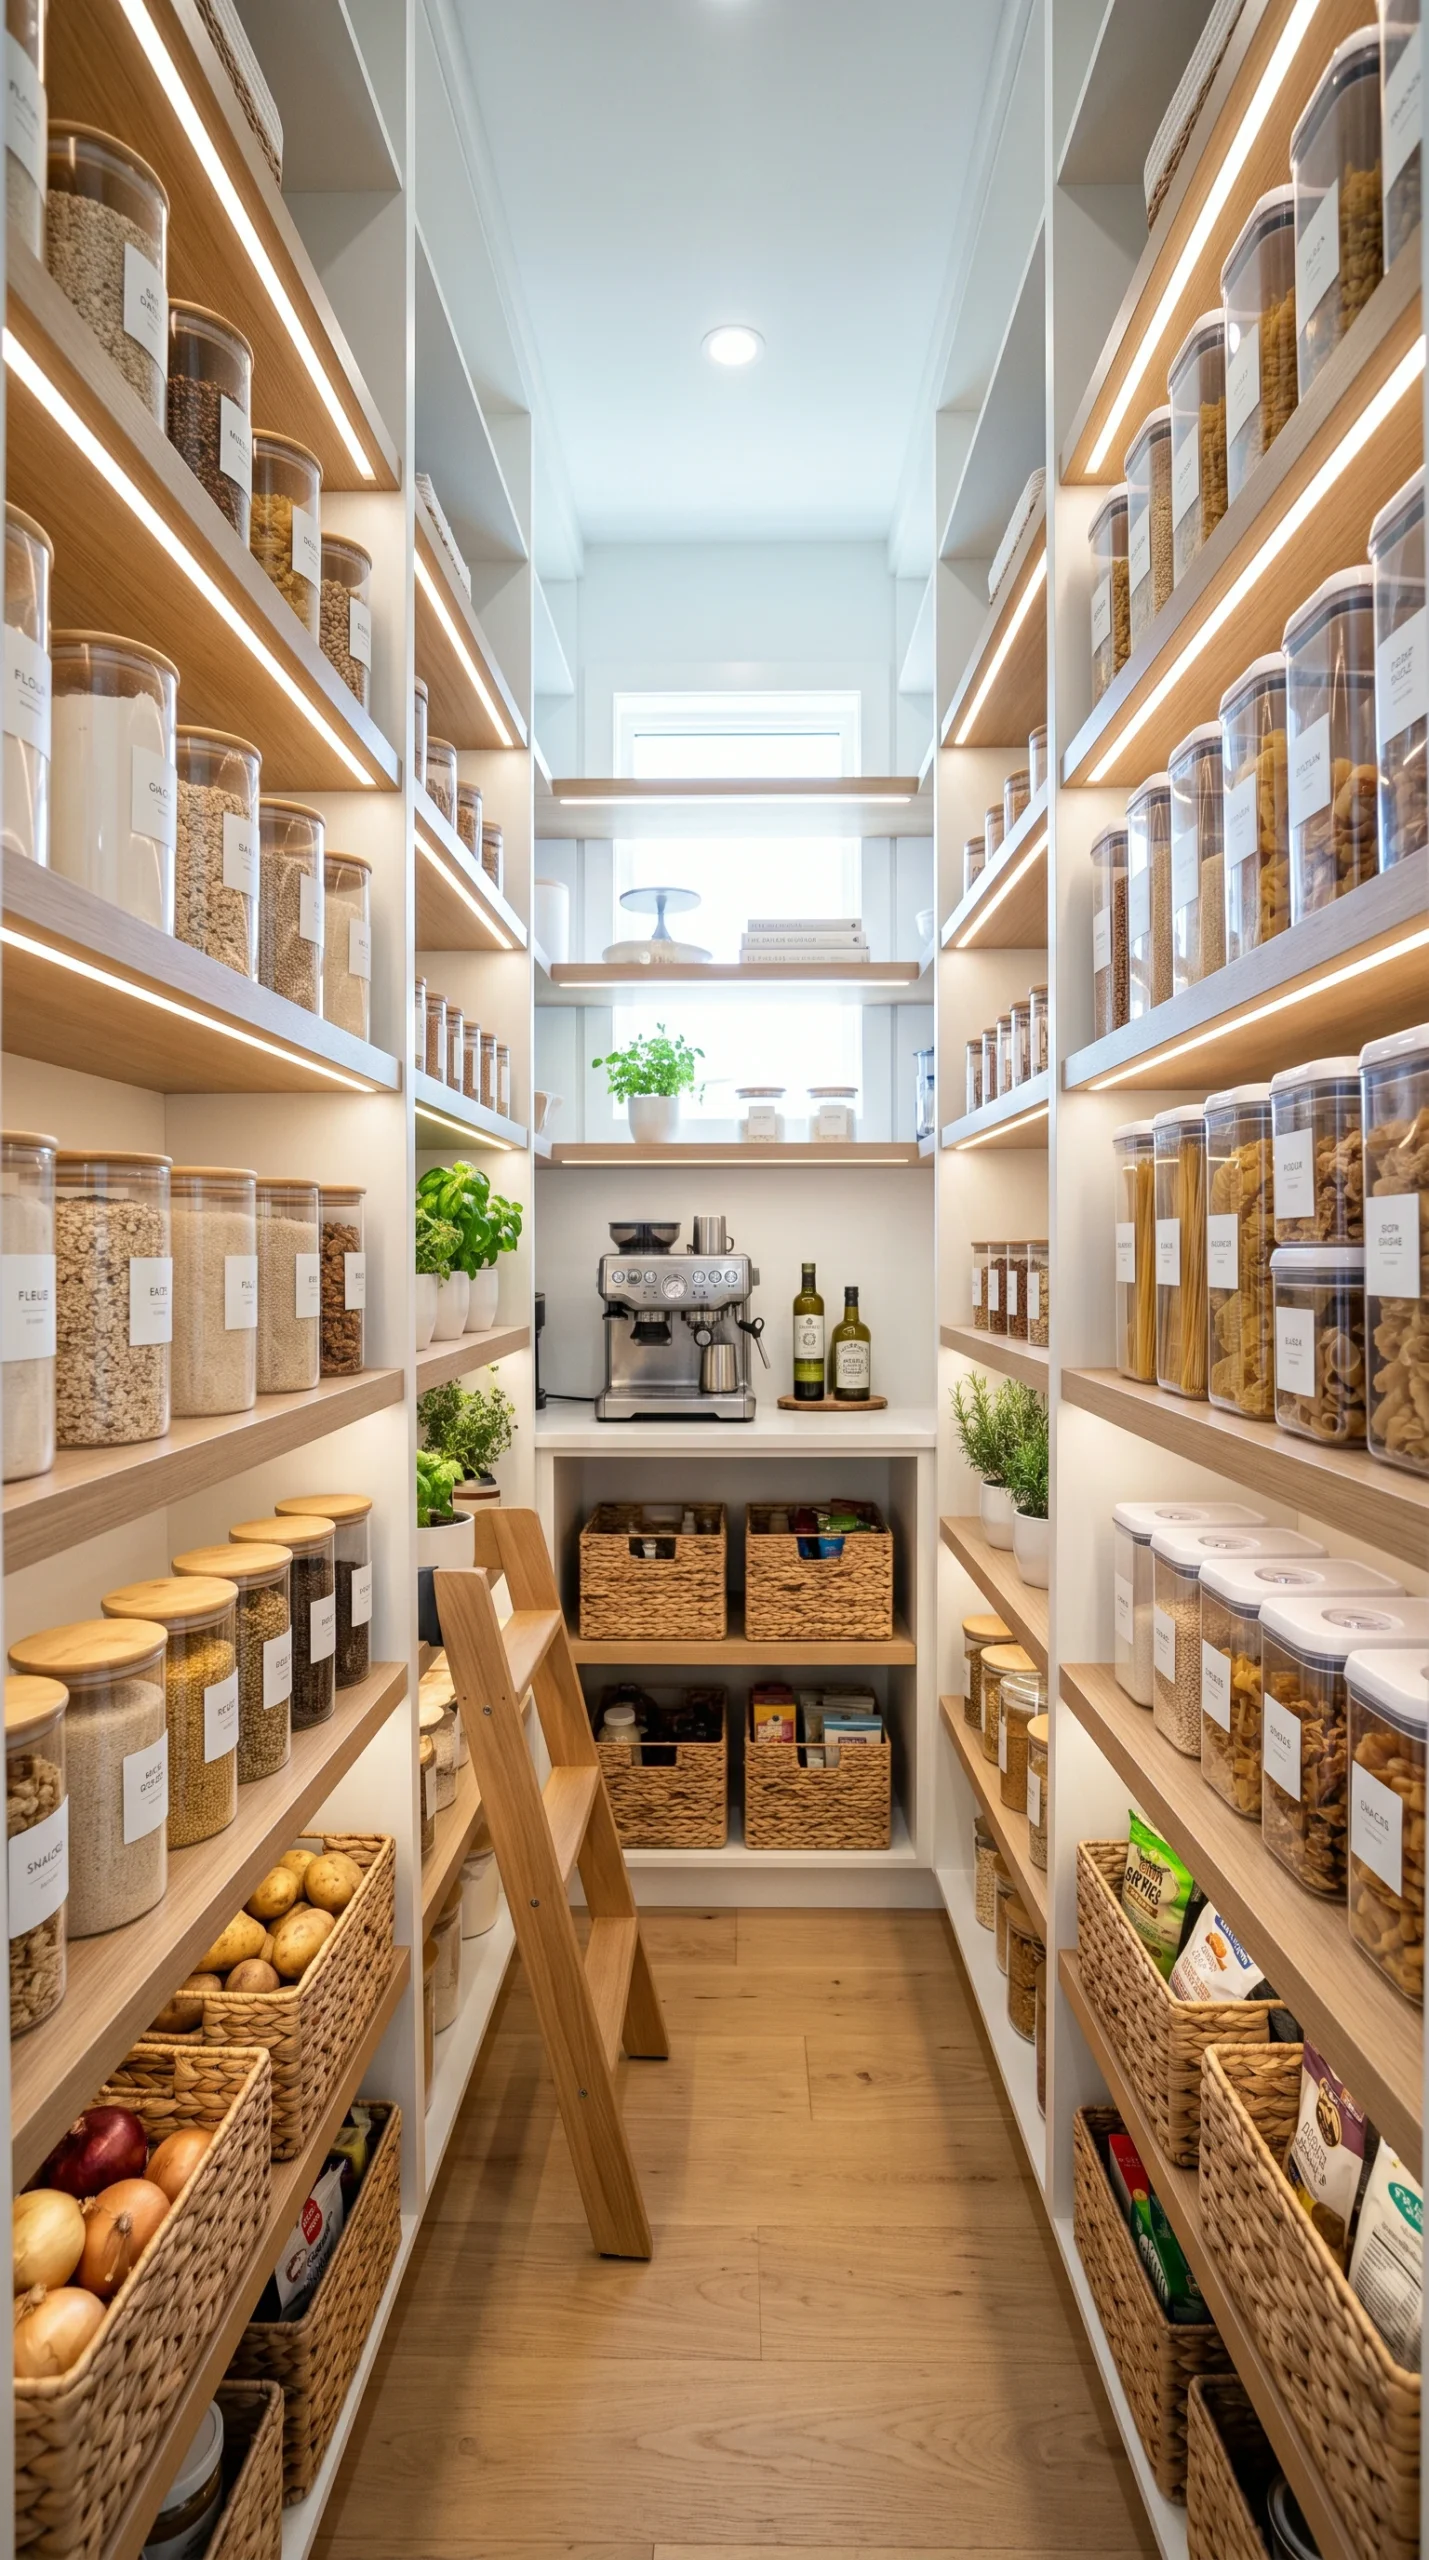
A stunning visual gallery highlighting dramatic pantry transformations, demonstrating how replacing wire racks with solid wood, decanting commercial packaging, and adding fresh white paint completely changes the energy of a room.

Steps to a Flawless Transformation

Implement this strict sequence of events to ensure your renovation is efficient, effective, and results in a magazine-worthy space.

The Great Emptying

Never try to organize around existing clutter. Remove every single item from the pantry so you can evaluate the blank slate.

Deep Clean & Paint

Wipe down the walls and apply a fresh coat of pure white paint to instantly brighten the small, often windowless room.

Upgrade the Bones

If you have sagging wire shelving, replace it with solid MDF or natural wood planks to instantly elevate the visual quality of the space.

The Decanting Process

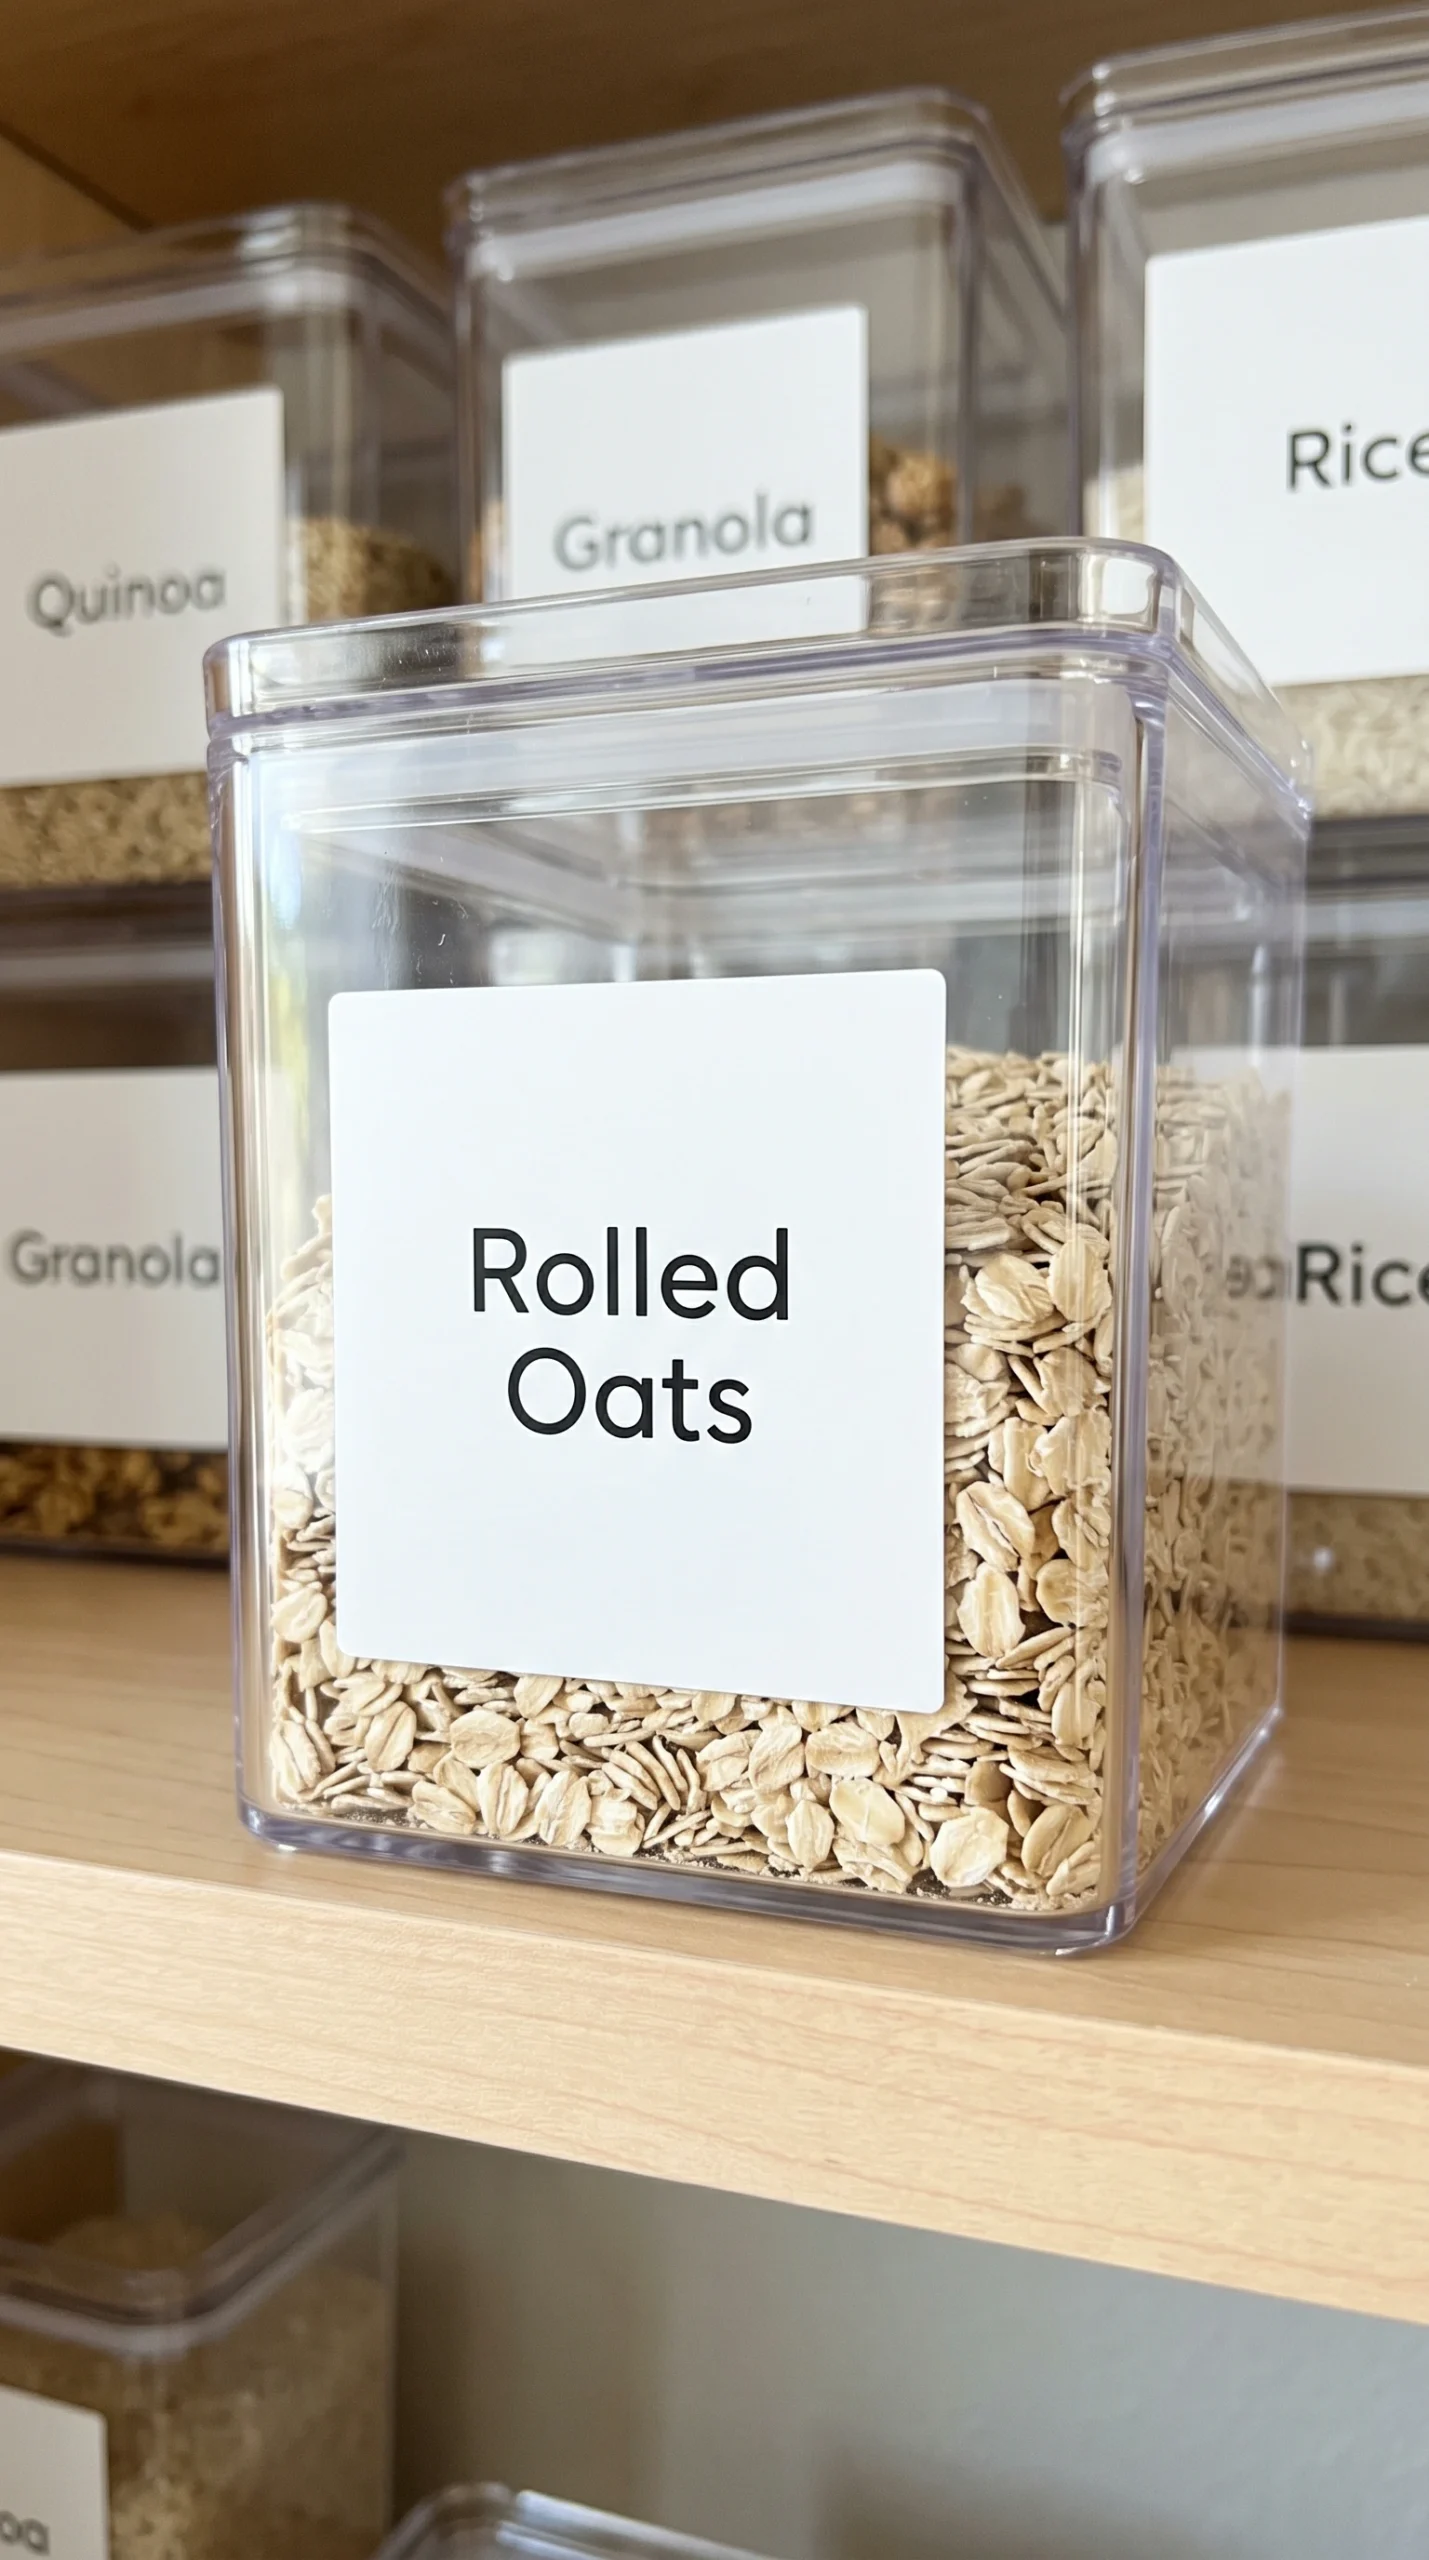
Transfer dry goods (pasta, cereal, flour) from their visually noisy cardboard boxes into uniform, clear glass or acrylic jars.

Zone Assignment

Dedicate specific shelves to specific categories (e.g., a baking shelf, a snack basket zone, a canned goods tier) before putting anything back.

Consistent Labeling

Finish the transformation by applying uniform labels to your bins and jars, ensuring the family knows exactly where everything belongs.

The Complete Guide to a Pantry Makeover

A cluttered pantry is a daily source of stress. When you cannot find what you need, cooking becomes frustrating, and you inevitably waste money buying duplicate ingredients that are lost in the dark corners. The good news is that a pantry makeover offers one of the highest returns on investment in interior design. A successful pantry transformation does not just change how the room looks; it fundamentally changes how your entire kitchen operates. By studying the most impactful “before and afters,” you can learn the precise steps required to reclaim your space.

Executing Your Pantry Renovation

The most dramatic before-and-after photos always start with a structural reset. A true pantry renovation often involves ripping out builder-grade wire racks. Wire racks allow small items to tip over and visually chop up the space. Replacing them with solid wooden shelves—whether painted Pure White or left as natural White Oak—provides a sturdy, high-end foundation for your pantry storage. Once the old shelves are out, patch the holes and paint the entire interior a bright, light-reflecting white to make the space feel instantly larger and cleaner.

Implementing Brilliant Pantry Organization Ideas

Once the fresh shelves are installed, the fun begins. The secret to a flawlessly organized pantry is containing the visual chaos of commercial packaging. Your pantry organization ideas must center around decanting. When you pour brightly colored boxes of cereal and bags of rice into a matching set of clear glass jars with Matte Black lids, the “after” image begins to take shape. For items that cannot be decanted, like chip bags or extra paper towels, use large, matching woven baskets. This hides the clutter while adding beautiful, organic texture to the room.

Maintaining the Pantry Transformation

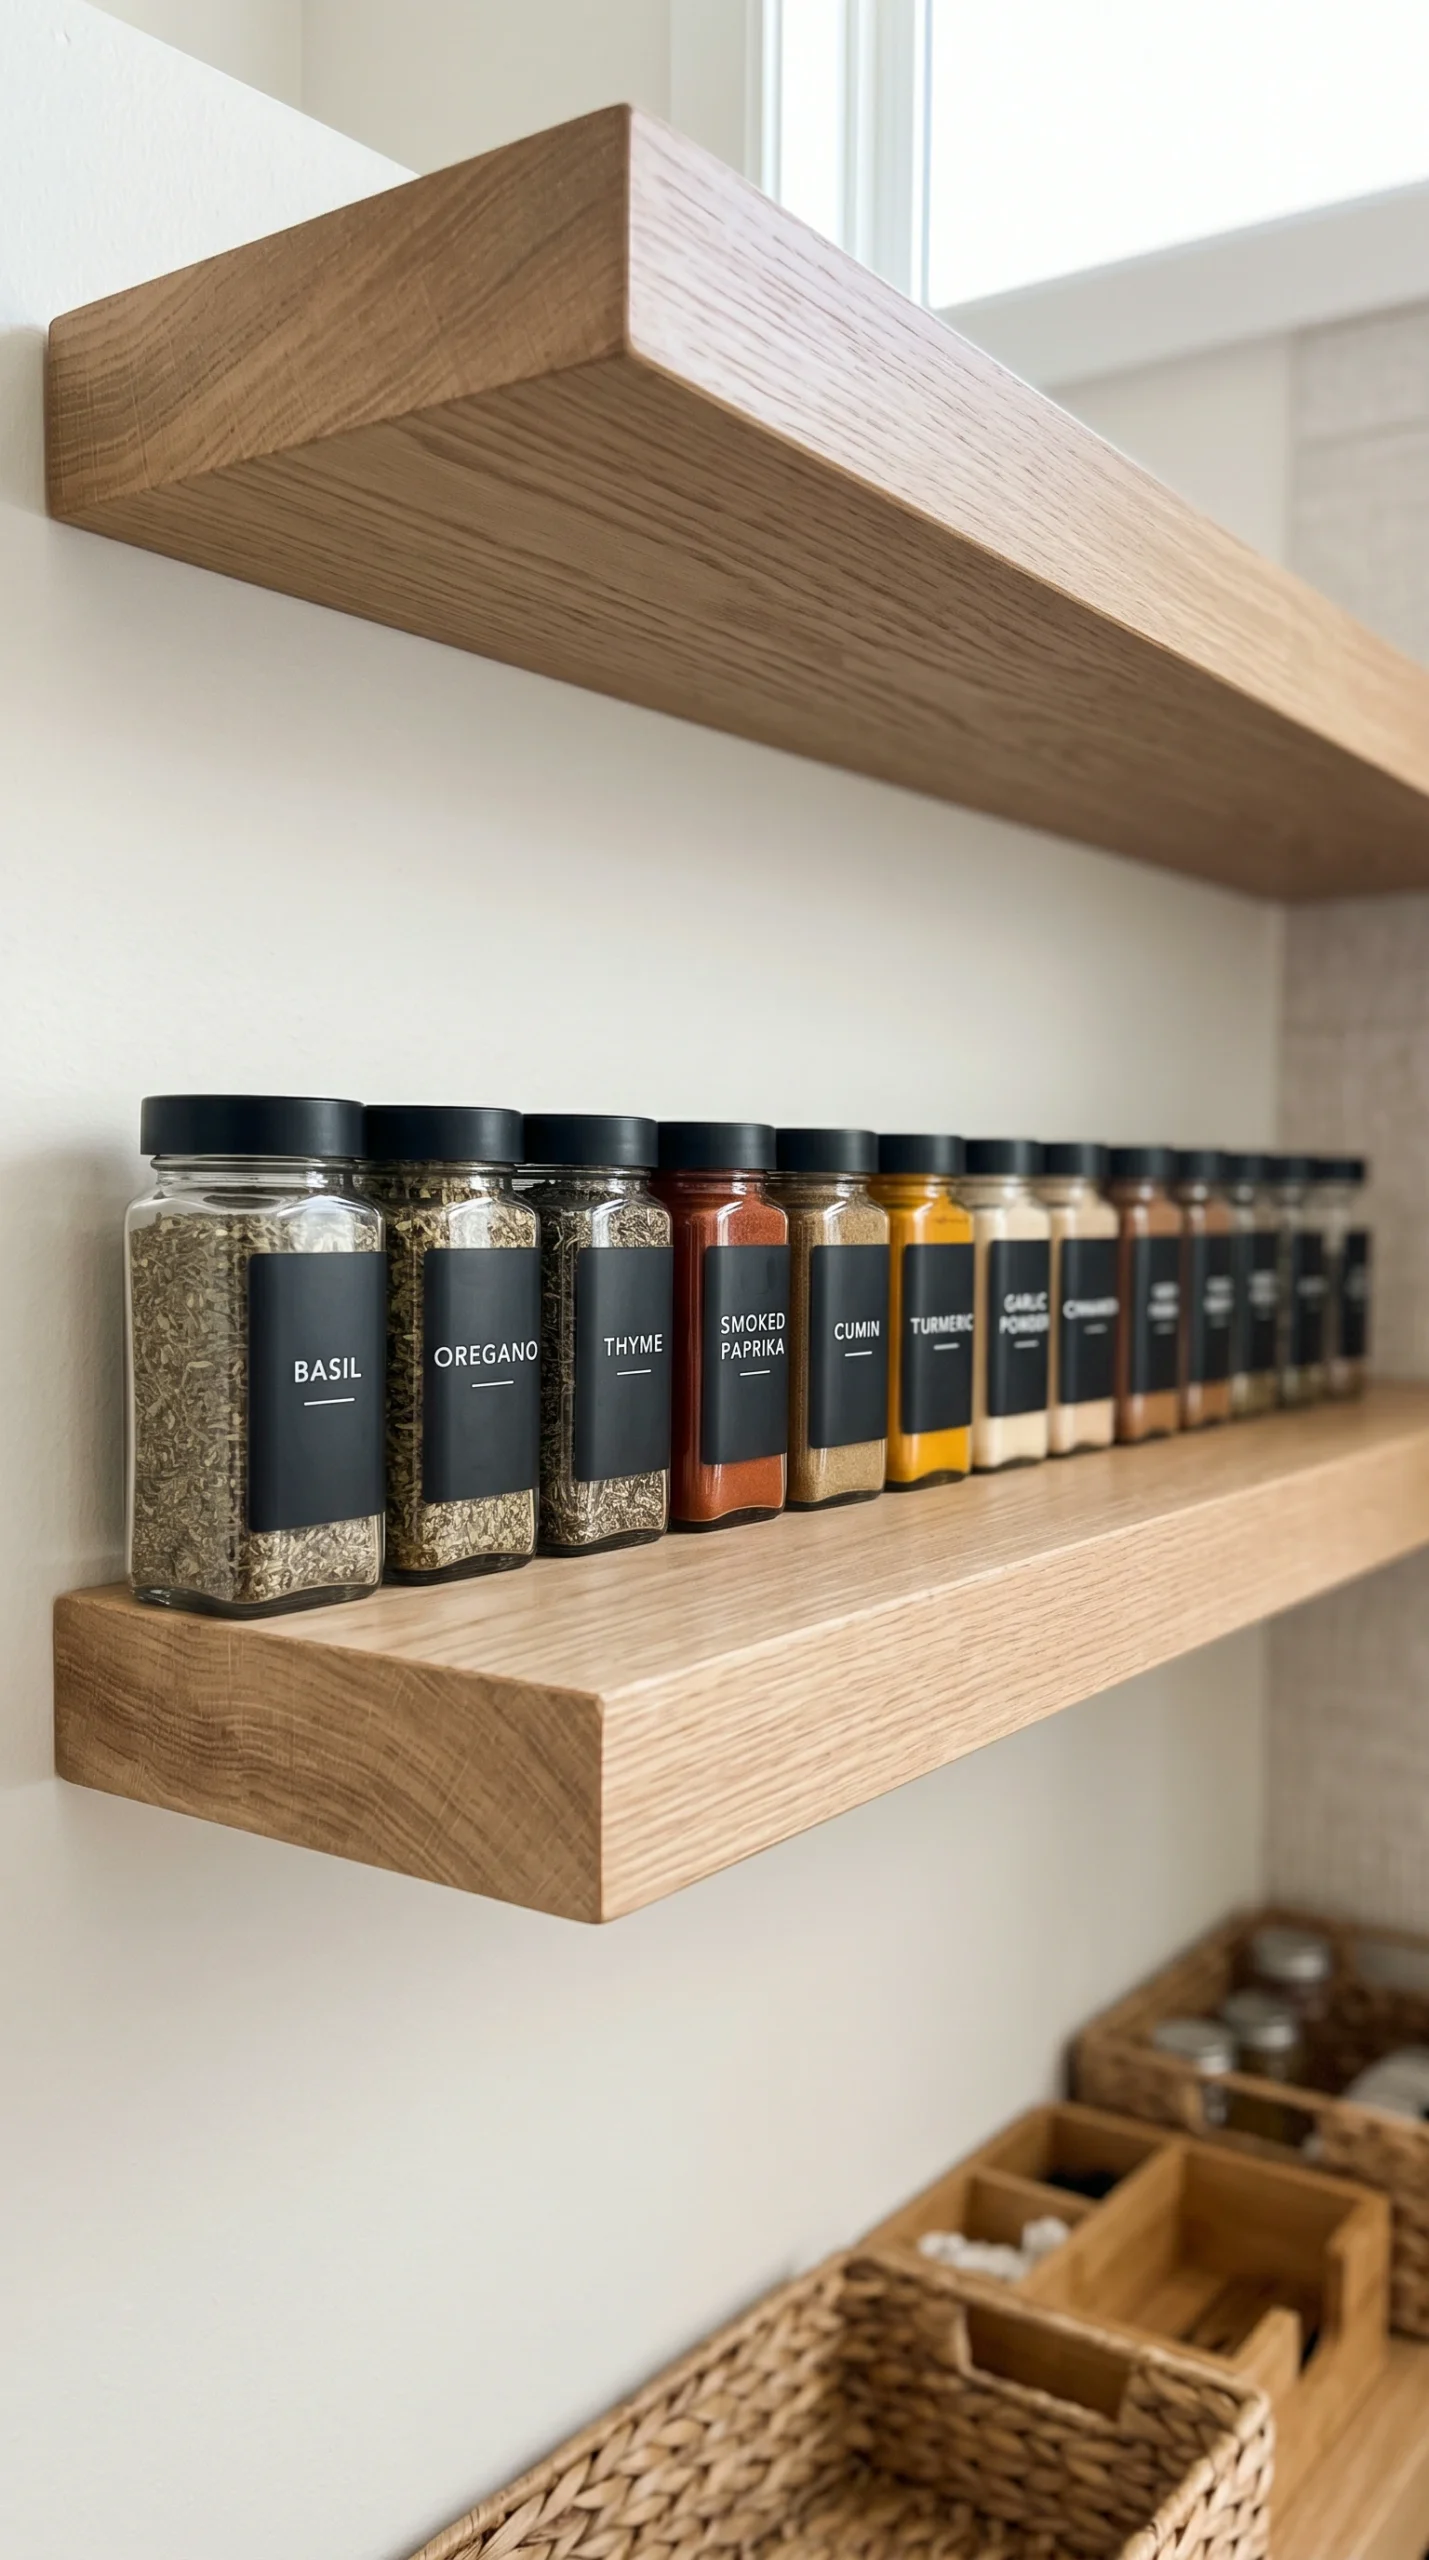
A makeover is only successful if it lasts. To ensure your new space does not revert to its messy “before” state, you must establish strict storage zones. Dedicate eye-level shelves to daily essentials, lower shelves for heavy appliances and bulk baskets, and upper shelves for back-stock. Finally, label everything. Consistent, modern labels on your jars and baskets are the ultimate finishing touch of any pantry transformation. They provide a high-end, boutique aesthetic while guaranteeing that every item has a specific home, making long-term maintenance effortless.

Frequently Asked Questions

Expert advice on how to plan, budget, and execute a dramatic storage space renovation from start to finish.
You must completely empty the space. Take every single item out, throw away expired food, and wipe down the empty shelves. You cannot successfully organize a pantry while the clutter is still inside it.
It ranges wildly. A simple makeover (paint, plastic bins, labels) can cost under $100. A full renovation (tearing out wire racks, installing custom wood shelves, buying matching glass jars) can range from $500 to $2,000+.
Commercial packaging is designed to be loud and eye-catching. When you have 50 different brightly colored boxes in a small closet, it looks chaotic. Clear containers instantly neutralize this visual noise, making the space look clean and high-end.
Absolutely. Pantries are often dark and scuffed from cans and boxes. Painting the walls and shelves a crisp, pure white is the easiest way to make the space feel fresh, clean, and significantly larger.
Yes! Wire shelving is a hallmark of a “before” photo. Small items tip over on it, and it looks cheap. Upgrading to solid MDF or wood shelves is the most impactful structural change you can make for pantry storage.
Remove individually wrapped snacks from their cardboard boxes and place them in clear acrylic bins or wire baskets. This makes it easy for kids to grab what they need and lets you instantly see when you need to restock.
Labels and zones. If every basket and jar is clearly labeled, and every category (baking, breakfast, dinner prep) has a dedicated shelf, it is much harder for the space to become messy again.
Yes! Applying a beautiful, subtle wallpaper to the back wall behind the shelves is a fantastic way to add a pop of personality and elevate the room from a utility closet to a designed space.
If you have open shelving, dedicate the very bottom shelf to appliances and store them behind large, identical woven floor baskets. If you are doing a full renovation, build closed lower cabinets.
A basic clean-out, decanting, and organizing session can be done in a single weekend. If you are tearing out shelves, patching drywall, painting, and installing new custom shelving, expect the project to take 3 to 5 days.